Microsoft Office 365 / 2016
Microsoft Office 365 / 2016
Using Office Deployment Tool to install Office 365/2016/2013 (Multilanguage
As you know, the default language of Microsoft Office is English (USA). Perhaps changing language is unnecessary if you live in an English-speaking country. But it would be very necessary if you were born in another country and English was not your native language.
Recently I have got many requests for issues related to installing language pack. So I gave it a try but without success. Honestly, I dont know much about this matter. I have always used the english version so I never thought about that.
At present, there is no way to install additional language in english version of Office Volume. In spite of that, I kept trying to find another way. After testing some ideas, I figured out a solution which helps you reinstall Office (there is a option which allows change language).
Supported products:
– Office 365
– Office 2016
– Office 2013
First, if you have Office (english version) already installed, please completely uninstall itfrom your drive.
Step 1: Download Office Deployment Tool from Microsoft homepage.
Deployment Tool for Office 2016/365 | Deployment Tool for Office 2013


Step 2: Extract the contents of this file. You will be left with some files (configuration files, EULA and setup.exe).
If you dont see “Extract to officedeploymenttool…” in the right-click context menu, just run this file, accept Microsoft Software License Terms, then click Continue button to extract files.
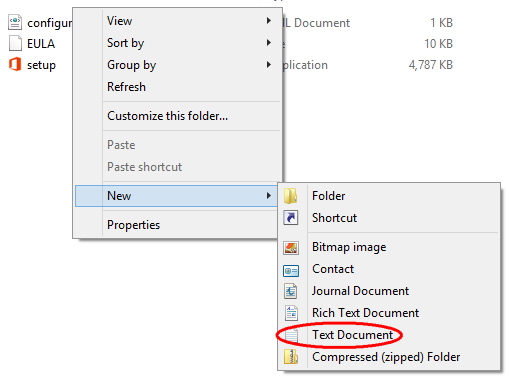
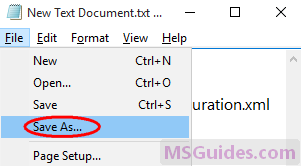
Step 3: Copy the following code and paste it into a new text document.
| 1 2 3 4 5 6 7 8 9 10 11 12 13 14 15 16 17 18 19 20 21 22 |
<Configuration>
<Add OfficeClientEdition="32">
<Product ID="ProPlusRetail">
<Language ID="ja-jp" />
<ExcludeApp ID="Access" />
<ExcludeApp ID="InfoPath" />
<ExcludeApp ID="Lync" />
<ExcludeApp ID="OneNote" />
<ExcludeApp ID="Outlook" />
<ExcludeApp ID="Project" />
<ExcludeApp ID="Publisher" />
<ExcludeApp ID="SharePointDesigner" />
<ExcludeApp ID="Visio" />
<ExcludeApp ID="Skype" />
<ExcludeApp ID="Skypeforbusiness" />
<ExcludeApp ID="Groove" />
</Product>
</Add>
<Display Level="Full" AcceptEULA="TRUE" />
</Configuration>
|
Before starting, let me explain.
| Value | Description |
|---|---|
| OfficeClientEdition=”32″ | Downloads and installs the 32-bit edition of Office. If you have 64bit Windows, just replace “32” with “64”. |
| ID=”ProPlusRetail” | Downloads and installs Office 2016 or 2013 ProPlus Retail. If you want to install Office 365, just replace it with “O365ProPlusRetail”. See list of product IDs here. |
| ID=”ja-jp” | Downloads and installs Japanese version of Office. If you want to change the display language, just replace “ja-jp” with your native language. See list of language IDs here. |
| <ExcludeApp ID=”Access” /> | Defines which products would not be installed. If you want to install Microsoft Access, please remove this line. Do the same to the others. |
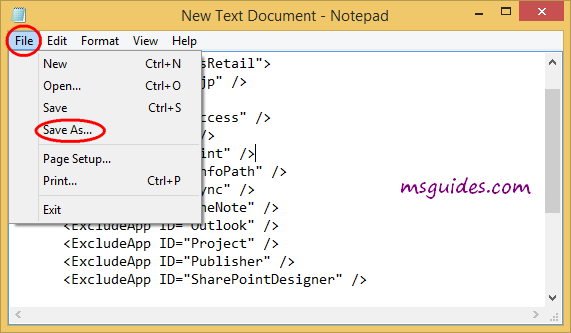
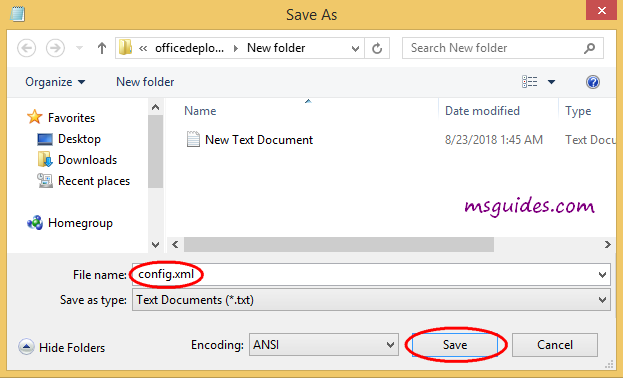
Note: You need to edit the code based on what I explain above. Then save it as a config file using “.xml” extension.
For English Version : en-us
Step 4: Copy the code below into the new text document file.
| 1 2 3 4 |
@echo off
cd /d %~dp0
setup.exe /configure config.xml
pause
|
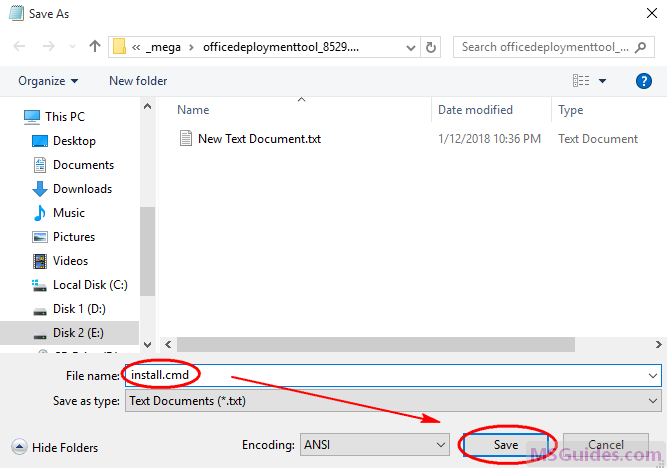
Then save it as a batch file with .cmd extension (eg install.cmd).
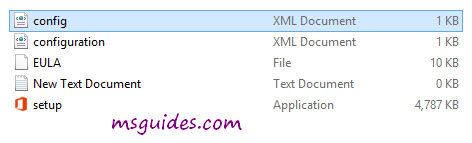
And make sure this .cmd file, setup.exe file & config.xml file are in the same folder.
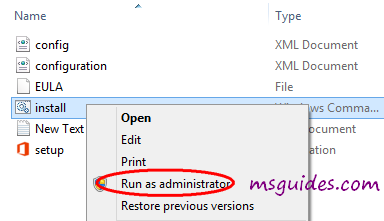
Step 5: Right-click on the install.cmd file and run it as administrator.
Note: If you see error, just run this file normally instead of doing it with admin right.
Right now, the installation process starts.
Step 6: After successfully installing Office, you can activate it for FREE using KMS method.
———————————-END———————————